Sink Leaking? A Comprehensive Guide to Identifying and Fixing Leaks
A sink leaking can be more than just an annoyance; it can lead to water damage, mold growth, and increased water bills. Identifying the source of a sink leaking promptly and addressing it effectively is crucial for maintaining a healthy and cost-efficient home. This guide provides a comprehensive overview of common sink leaking causes, troubleshooting tips, and step-by-step instructions for fixing them. We’ll cover everything from minor drips to major floods, empowering you to tackle most sink leaking issues yourself.
Identifying the Source of a Sink Leak
Before you can fix a sink leaking, you need to pinpoint its origin. Here’s a systematic approach:
- Dry the Area: Start by thoroughly drying the area under and around the sink with a clean cloth. This will make it easier to spot the first sign of a leak.
- Inspect the Faucet: Check around the base of the faucet, the spout, and the handles for any visible water. Run the faucet and observe if the leak worsens.
- Examine the Drain: Look at the drain flange (where the drain meets the sink), the drainpipe, and the P-trap (the curved pipe under the sink). Run water into the sink and watch for leaks.
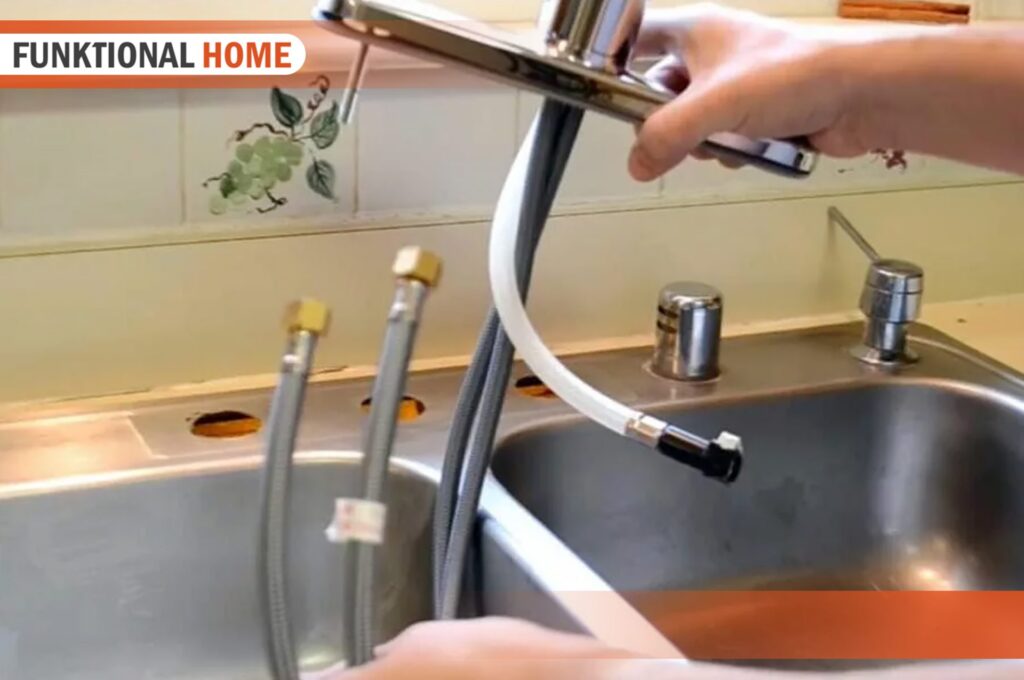
- Check the Supply Lines: Inspect the hot and cold water supply lines and their connections to the faucet and the shut-off valves. Feel for moisture along the lines.
- Look at the Sprayer Hose (if applicable): If your sink has a sprayer, check the hose and its connection to the faucet for leaks.
Common Causes of Sink Leaks
Several factors can contribute to a sink leaking. Understanding these common causes can help you diagnose the problem more accurately.
Loose Connections
One of the most frequent causes of a sink leaking is loose connections. Over time, vibrations and temperature changes can loosen the nuts and fittings on supply lines, drainpipes, and faucets. Tightening these connections is often the first and easiest solution.
Worn-Out Washers and O-Rings
Washers and O-rings are rubber or plastic seals that prevent water from escaping joints. These components can wear out, crack, or become brittle over time, leading to leaks. Replacing worn washers and O-rings is a common repair for leaky faucets and drain connections. [See also: How to Replace Faucet Washers]
Corroded Pipes
Corrosion can weaken pipes and fittings, eventually causing them to leak. This is especially common in older homes with galvanized steel pipes. Depending on the severity of the corrosion, you may need to repair or replace the affected pipes.
Clogged Drains
A clogged drain can cause water to back up and leak from the drain flange or overflow drain. Clearing the clog can often resolve the leak. [See also: Simple Drain Cleaning Techniques]
Damaged Faucet Cartridge
In single-handle faucets, a cartridge controls the flow and temperature of the water. A damaged cartridge can cause the faucet to drip or leak around the handle. Replacing the cartridge is a relatively straightforward repair.
Faulty Faucet Body
Cracks or defects in the faucet body itself can cause leaks. This is less common but can occur due to age, water pressure, or manufacturing defects. Replacing the entire faucet may be necessary in this case.
Tools You’ll Need
Before you start fixing a sink leaking, gather the necessary tools and materials. Having everything on hand will make the job easier and more efficient.
- Adjustable Wrench: For tightening and loosening nuts and fittings.
- Basin Wrench: For reaching nuts in tight spaces under the sink.
- Pliers: For gripping and holding components.
- Screwdrivers: Both Phillips head and flathead, for removing faucet handles and other parts.
- Plumber’s Tape (Teflon Tape): For sealing threaded connections.
- Plumber’s Putty: For sealing around the drain flange.
- Bucket: To catch water.
- Clean Cloths or Rags: For drying and cleaning.
- Replacement Parts: Washers, O-rings, cartridges, or pipes as needed.
Step-by-Step Guide to Fixing Common Sink Leaks
Here are detailed instructions for fixing some of the most common types of sink leaking.
Tightening Loose Connections
- Turn Off the Water: Locate the shut-off valves under the sink and turn them clockwise to stop the water supply. If there are no shut-off valves, you’ll need to turn off the main water supply to your house.
- Dry the Area: Thoroughly dry the area around the leaking connection.
- Tighten the Nut: Use an adjustable wrench to carefully tighten the nut or fitting. Be careful not to overtighten, as this can damage the connection.
- Turn On the Water: Slowly turn the water back on and check for leaks. If the leak persists, try tightening the nut slightly more.
Replacing Washers and O-Rings
- Turn Off the Water: As above, turn off the water supply to the sink.
- Disassemble the Faucet or Drain: Carefully disassemble the faucet or drain assembly to access the worn washer or O-ring. Take pictures as you go to help you reassemble everything correctly.
- Remove the Old Washer or O-Ring: Use a small screwdriver or pick to remove the old washer or O-ring.
- Install the New Washer or O-Ring: Lubricate the new washer or O-ring with plumber’s grease and install it in its place.
- Reassemble the Faucet or Drain: Carefully reassemble the faucet or drain assembly, following your pictures as a guide.
- Turn On the Water: Slowly turn the water back on and check for leaks.
Repairing a Leaky Drainpipe
- Turn Off the Water: Turn off the water supply to the sink.
- Disconnect the Drainpipe: Loosen the slip nuts on either side of the leaking section of the drainpipe and carefully remove the section.
- Inspect the Pipe: Check the pipe for cracks or corrosion. If the damage is minor, you may be able to repair it with plumber’s epoxy. If the damage is severe, you’ll need to replace the section of pipe.
- Install a New Pipe Section (if needed): Measure the length of the old pipe section and cut a new section of PVC or metal pipe to the same length. Use PVC primer and cement to connect PVC pipes. Use threaded fittings and plumber’s tape for metal pipes.
- Reassemble the Drainpipe: Reassemble the drainpipe, tightening the slip nuts securely.
- Turn On the Water: Slowly turn the water back on and check for leaks.
Fixing a Leaky Faucet Cartridge
- Turn Off the Water: Turn off the water supply to the sink.
- Remove the Faucet Handle: Depending on the faucet, you may need to pry off a decorative cap to access the screw that holds the handle in place. Loosen the screw and remove the handle.
- Remove the Cartridge Retaining Clip: Use pliers to remove the clip that holds the cartridge in place.
- Pull Out the Old Cartridge: Grasp the cartridge and pull it straight up and out of the faucet body.
- Install the New Cartridge: Insert the new cartridge into the faucet body, aligning it properly.
- Replace the Retaining Clip: Reinstall the retaining clip to secure the cartridge in place.
- Reattach the Faucet Handle: Reattach the faucet handle and tighten the screw.
- Turn On the Water: Slowly turn the water back on and check for leaks.
Preventing Future Sink Leaks
Prevention is always better than cure. Here are some tips to help prevent future sink leaking:
- Regularly Inspect: Periodically check under your sink for any signs of leaks or moisture.
- Tighten Connections: Every few months, tighten the nuts and fittings on supply lines and drainpipes.
- Replace Worn Parts: Replace worn washers, O-rings, and cartridges promptly.
- Avoid Harsh Chemicals: Avoid using harsh drain cleaners that can corrode pipes.
- Properly Dispose of Grease: Never pour grease down the drain, as it can solidify and cause clogs.
When to Call a Professional
While many sink leaking issues can be resolved with DIY repairs, some situations require the expertise of a professional plumber. Consider calling a plumber if:
- You are uncomfortable working with plumbing.
- You can’t identify the source of the leak.
- The leak is severe or causing water damage.
- You suspect a major plumbing problem, such as a burst pipe.
A sink leaking can be a manageable problem with the right knowledge and tools. By following this guide, you can confidently diagnose and fix most common sink leaks, saving yourself time, money, and potential water damage. Remember to prioritize safety and consult a professional when needed. Addressing a sink leaking promptly will protect your home and ensure a functional and efficient plumbing system.
