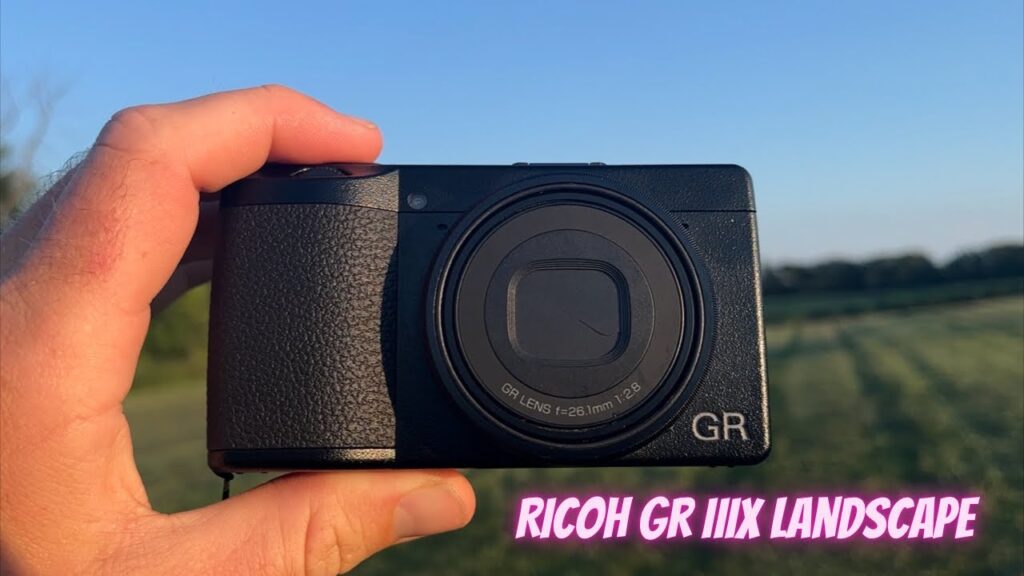
Unlocking Stunning Landscapes with the Ricoh GR II: A Photographer’s Guide
The Ricoh GR II, a beloved compact camera among street photographers, also possesses surprising capabilities for capturing breathtaking landscapes. While not traditionally marketed as a landscape photography powerhouse, its sharp lens, compact size, and customizable controls make it a compelling option for photographers seeking a discreet and versatile tool. This article delves into the nuances of using the Ricoh GR II for landscape photography, exploring its strengths, weaknesses, and practical tips for maximizing its potential.
The Allure of the Ricoh GR II for Landscape Photography
What makes the Ricoh GR II a viable choice for landscape photography? Several key features contribute to its appeal:
- Exceptional Image Quality: At the heart of the Ricoh GR II is its 16.2-megapixel APS-C sensor. While not the highest resolution on the market, it delivers images with excellent detail, dynamic range, and low-light performance, crucial for capturing the subtleties of landscapes.
- Sharp 28mm Equivalent Lens: The fixed 28mm equivalent lens is renowned for its sharpness and minimal distortion. This focal length is wide enough to capture expansive scenes, yet not so wide that it introduces excessive distortion, making it ideal for many landscape compositions.
- Compact and Discreet: The Ricoh GR II’s pocketable size makes it incredibly easy to carry on hikes and travel. Its unassuming appearance also allows photographers to blend in and capture candid moments without drawing attention.
- Customizable Controls: The Ricoh GR II offers a high degree of customization, allowing photographers to tailor the camera’s settings to their specific needs and shooting style. This is particularly useful for landscape photography, where precise control over exposure, white balance, and focus is essential.
- Built-in ND Filter: The built-in 2-stop neutral density (ND) filter is a valuable asset for landscape photography. It allows you to shoot with wider apertures in bright light, creating shallow depth of field effects or using longer shutter speeds to blur motion.
Understanding the Ricoh GR II’s Limitations
While the Ricoh GR II offers several advantages for landscape photography, it’s important to acknowledge its limitations:
- Fixed Lens: The fixed 28mm lens can be restrictive for some landscape photographers who prefer the flexibility of zoom lenses. You’ll need to rely on your feet to zoom in or out and carefully consider your composition.
- Weather Sealing: The Ricoh GR II lacks weather sealing, making it vulnerable to dust and moisture. This is a significant drawback for photographers who frequently shoot in challenging environments. Consider using a protective case in inclement weather.
- Lower Resolution Compared to Newer Cameras: While 16.2 megapixels is sufficient for many purposes, newer cameras offer higher resolutions, which can be beneficial for making large prints or cropping heavily.
Essential Settings and Techniques for Landscape Photography with the Ricoh GR II
To maximize the Ricoh GR II’s potential for landscape photography, consider these settings and techniques:
Shooting in RAW
Always shoot in RAW format to preserve the maximum amount of information in your images. This gives you greater flexibility when editing your photos in post-processing.
Mastering Manual Mode
Take control of your exposure by shooting in manual mode. This allows you to adjust the aperture, shutter speed, and ISO to achieve the desired results. Understanding the exposure triangle is crucial for landscape photography.
Utilizing the Built-in ND Filter
The built-in ND filter is incredibly useful for blurring motion in water or clouds. Experiment with different shutter speeds to achieve the desired effect. Remember to adjust your aperture and ISO accordingly to maintain proper exposure.
Focusing Techniques
Achieving sharp focus is essential for landscape photography. Use the Ricoh GR II’s focus peaking feature to ensure your subject is in focus. Consider using back-button focus for more precise control.
Compositional Considerations
Pay close attention to composition when shooting landscapes with the Ricoh GR II. Use leading lines, the rule of thirds, and other compositional techniques to create visually appealing images. The 28mm lens requires careful consideration of foreground and background elements.
Post-Processing Workflow
Post-processing is an integral part of landscape photography. Use software like Adobe Lightroom or Capture One to adjust the exposure, contrast, white balance, and sharpness of your images. Experiment with different editing styles to find what works best for you.
Ricoh GR II Landscape Photography: Real-World Examples
Let’s look at some practical scenarios and how the Ricoh GR II can excel:
- Golden Hour Scenery: Capture the warm, soft light of sunrise or sunset. The Ricoh GR II’s dynamic range allows you to capture detail in both the highlights and shadows.
- Waterfalls and Rivers: Use the built-in ND filter to create silky smooth water effects with long exposures.
- Mountain Vistas: The 28mm lens is wide enough to capture expansive mountain scenes. Use a small aperture (e.g., f/8 or f/11) to maximize depth of field.
- Forest Scenes: Capture the intricate details of the forest floor and canopy. Pay attention to light and shadow to create a sense of depth.
- Coastal Landscapes: Capture the beauty of the coastline with the Ricoh GR II. Consider using a polarizer filter to reduce glare and enhance colors.
Accessories to Enhance Your Ricoh GR II Landscape Photography
While the Ricoh GR II is capable on its own, several accessories can enhance your landscape photography experience:
- Wide-Angle Conversion Lens: The GW-4 wide-angle conversion lens expands the field of view to 21mm equivalent, providing even greater flexibility for capturing expansive landscapes.
- External Viewfinder: An external viewfinder can improve visibility in bright sunlight, making it easier to compose your shots.
- Tripod: A tripod is essential for shooting long exposures and ensuring sharp images.
- Filters: Polarizing filters and neutral density filters can enhance your landscape photography by reducing glare, enhancing colors, and allowing for longer exposures.
- Extra Batteries: The Ricoh GR II’s battery life is relatively short, so it’s always a good idea to carry extra batteries.
Alternatives to the Ricoh GR II for Landscape Photography
If the Ricoh GR II doesn’t quite meet your needs, consider these alternatives:
- Fujifilm X100V: Similar to the Ricoh GR II, the Fujifilm X100V features a fixed lens and a compact design, but it offers a larger sensor and weather sealing.
- Sony RX100 Series: The Sony RX100 series offers a zoom lens and a compact design, making it a versatile option for landscape photography.
- Micro Four Thirds Cameras: Micro Four Thirds cameras like the Olympus OM-D series or the Panasonic Lumix series offer a wide range of lenses and a compact size.
Conclusion: The Ricoh GR II – A Pocketable Powerhouse for Landscape Photography
The Ricoh GR II, despite its street photography reputation, proves to be a capable and compelling tool for landscape photography. Its sharp lens, excellent image quality, compact size, and customizable controls make it an excellent choice for photographers who value portability and discretion. While it has limitations, understanding these limitations and utilizing the camera’s strengths can lead to stunning landscape images. Embrace the challenge of the fixed lens, master manual mode, and experiment with different compositional techniques to unlock the full potential of the Ricoh GR II for landscape photography. The Ricoh GR II’s strengths truly shine when used thoughtfully for landscape photography. Don’t underestimate the power of this compact camera for capturing the beauty of the natural world. The Ricoh GR II is a small but mighty tool for any photographer’s arsenal. Consider exploring [See also: Best Street Photography Techniques] and [See also: Understanding Aperture in Photography] for related insights.
