Henna Tattoo How To Make: A Comprehensive Guide to Creating Stunning Temporary Art
Henna tattoos, also known as mehndi, have been practiced for centuries across various cultures, primarily in South Asia, the Middle East, and Africa. These temporary skin decorations are created using a paste made from the henna plant, and they hold significant cultural and ceremonial importance, often associated with celebrations like weddings and festivals. If you’re fascinated by this art form and eager to learn how to create your own henna tattoo, this comprehensive guide will walk you through the entire process, from preparing the henna paste to applying the design and ensuring a long-lasting stain.
Understanding Henna and Its Properties
Before diving into the practical aspects of making a henna tattoo, it’s essential to understand the properties of henna itself. Natural henna comes from the *Lawsonia inermis* plant. The leaves are dried, crushed into a fine powder, and then mixed with liquids to create a paste that stains the skin. The quality of the henna powder is crucial for achieving a rich, dark stain. Look for henna powder that is finely sifted and has a greenish-brown color. Avoid henna powders that are black, as they may contain harmful chemicals like PPD (paraphenylenediamine), which can cause severe skin reactions.
Natural vs. Black Henna: A Word of Caution
It is crucial to differentiate between natural henna and so-called “black henna.” Natural henna stains the skin a reddish-brown color. Black henna, on the other hand, often contains PPD, a chemical dye that can cause severe allergic reactions, permanent scarring, and long-term health problems. Always insist on natural henna and verify the ingredients before applying any henna tattoo.
Gathering Your Supplies
To make your own henna tattoo, you’ll need the following supplies:
- Henna Powder: Opt for high-quality, finely sifted natural henna powder.
- Liquid: Traditionally, lemon juice or strong tea (black or green) is used. The acidity helps release the dye from the henna powder.
- Essential Oils: Certain essential oils, such as lavender, cajeput, or tea tree oil, enhance the stain and aroma. Use only skin-safe essential oils.
- Sugar: A small amount of sugar helps create a smoother paste that adheres better to the skin.
- Applicator: You can use a cone, a syringe, or even a toothpick, depending on the complexity of your design and your comfort level.
- Stencils (Optional): If you’re new to henna art, stencils can be helpful for creating precise designs.
- Cotton Balls or Cloth: For cleaning up mistakes.
- Lemon-Sugar Sealant: A mixture of lemon juice and sugar to keep the henna paste moist and in contact with the skin.
Making the Henna Paste: A Step-by-Step Guide
The most crucial step in creating a successful henna tattoo is preparing the henna paste correctly. Here’s a detailed guide:
- Sift the Henna Powder: Use a fine-mesh sieve to sift the henna powder. This removes any clumps and ensures a smooth paste.
- Mix with Liquid: In a glass or stainless steel bowl (avoid using plastic, as it can absorb the stain), gradually add the lemon juice or tea to the henna powder. Start with a small amount and mix thoroughly until you achieve a thick, mashed-potato-like consistency.
- Add Essential Oil: Add a few drops of your chosen essential oil. Start with a small amount (around 5-10 drops per 100 grams of henna powder) and adjust to your preference.
- Add Sugar: Add a teaspoon of sugar to the mixture.
- Rest the Paste: Cover the bowl with plastic wrap and let it rest at room temperature for at least 4-6 hours, or preferably overnight. This allows the dye to release fully. This process is called “dye release”.
- Check the Consistency: After the resting period, check the consistency of the paste. It should be smooth, creamy, and easily extrudable from your applicator. If it’s too thick, add a little more liquid. If it’s too thin, add a little more henna powder.
Applying the Henna Tattoo
Once your henna paste is ready, it’s time to apply your design. Here’s how:
- Prepare the Skin: Clean the area where you’ll be applying the henna tattoo with soap and water. Avoid using lotions or oils, as they can create a barrier and prevent the henna from staining properly. Exfoliating the skin gently beforehand can also help.
- Apply the Design: If you’re using a stencil, apply it to the skin. If you’re freehanding the design, you can use a skin-safe marker to sketch it out first. Carefully apply the henna paste to the skin using your chosen applicator. Apply a thick layer of paste for a richer stain.
- Let it Dry: Allow the henna paste to dry completely. This can take anywhere from 30 minutes to a few hours, depending on the thickness of the paste and the humidity.
- Apply Lemon-Sugar Sealant: To keep the henna paste moist and in contact with the skin, apply a lemon-sugar sealant. Mix equal parts lemon juice and sugar and gently dab it onto the dried henna paste using a cotton ball or cloth. Reapply the sealant every few minutes.
- Leave the Paste on as Long as Possible: The longer you leave the henna paste on, the darker and longer-lasting the stain will be. Aim for at least 2-6 hours, or even overnight.
Aftercare for a Long-Lasting Henna Tattoo
Proper aftercare is crucial for ensuring a dark and long-lasting henna tattoo. Here are some tips:
- Avoid Water: Avoid washing the area with soap and water for at least 12 hours after removing the paste. Water can hinder the oxidation process and lighten the stain.
- Apply Natural Oils: After removing the paste, apply a natural oil like coconut oil, olive oil, or sesame oil to the area. This helps moisturize the skin and protect the stain.
- Avoid Harsh Chemicals: Avoid using harsh chemicals, soaps, or lotions on the area, as they can fade the stain.
- Stay Warm: Keeping the area warm can help deepen the stain.
- Avoid Exfoliation: Avoid exfoliating the area, as this will remove the stained skin cells.
Troubleshooting Common Henna Problems
Even with careful preparation and application, you might encounter some common problems. Here’s how to troubleshoot them:
- Faint Stain: This could be due to poor-quality henna powder, insufficient dye release, or inadequate aftercare. Ensure you’re using high-quality henna, allowing sufficient dye release time, and following the aftercare instructions carefully.
- Uneven Stain: This could be due to uneven application of the paste or variations in skin thickness. Apply the paste evenly and ensure the skin is properly prepared.
- Allergic Reaction: Although rare with natural henna, allergic reactions can occur. Discontinue use immediately and seek medical attention if you experience itching, redness, swelling, or blistering. Ensure you are using natural henna and not black henna.
Henna Tattoo Designs and Inspiration
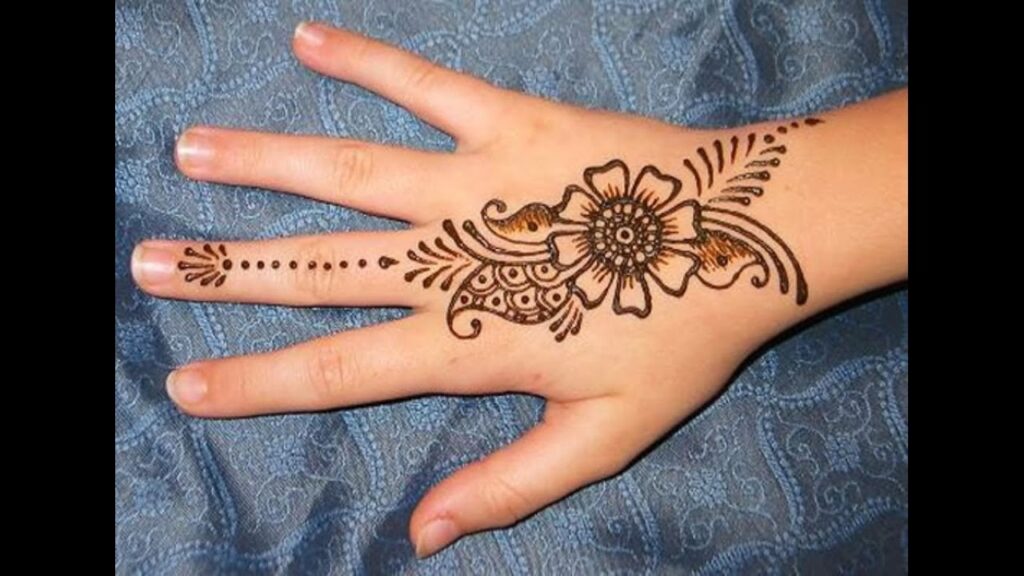
The possibilities for henna tattoo designs are endless. You can find inspiration from traditional patterns, modern designs, or create your own unique artwork. Intricate floral patterns, geometric shapes, and personalized symbols are all popular choices. Consider the placement of your design as well; hands and feet are traditional areas, but you can also apply henna to other parts of the body.
Resources for Design Ideas
Websites like Pinterest, Instagram, and Google Images are excellent resources for finding henna tattoo design ideas. Search for terms like “mehndi designs,” “henna patterns,” or “tribal henna” to discover a wide range of inspiration.
The Cultural Significance of Henna
It’s essential to approach henna tattoo art with respect for its cultural significance. Henna has deep roots in various traditions and is often associated with important ceremonies and celebrations. Understanding and appreciating the cultural context of henna can enhance your experience and help you create meaningful designs. [See also: Traditional Mehndi Designs and Their Meanings]
Conclusion: Embrace the Art of Henna
Creating your own henna tattoo can be a rewarding and enjoyable experience. By following this comprehensive guide, you can learn the art of henna, create stunning temporary art, and appreciate the cultural significance of this ancient tradition. Remember to always use natural henna, practice safe application techniques, and respect the traditions associated with this beautiful art form. Experiment with different designs, techniques, and essential oils to find your own unique style and express your creativity through the art of henna tattoo. The key is to practice and be patient, and before you know it, you’ll be creating beautiful and intricate designs that you can be proud of. So, gather your supplies, follow these steps, and embark on your henna tattoo journey today!
